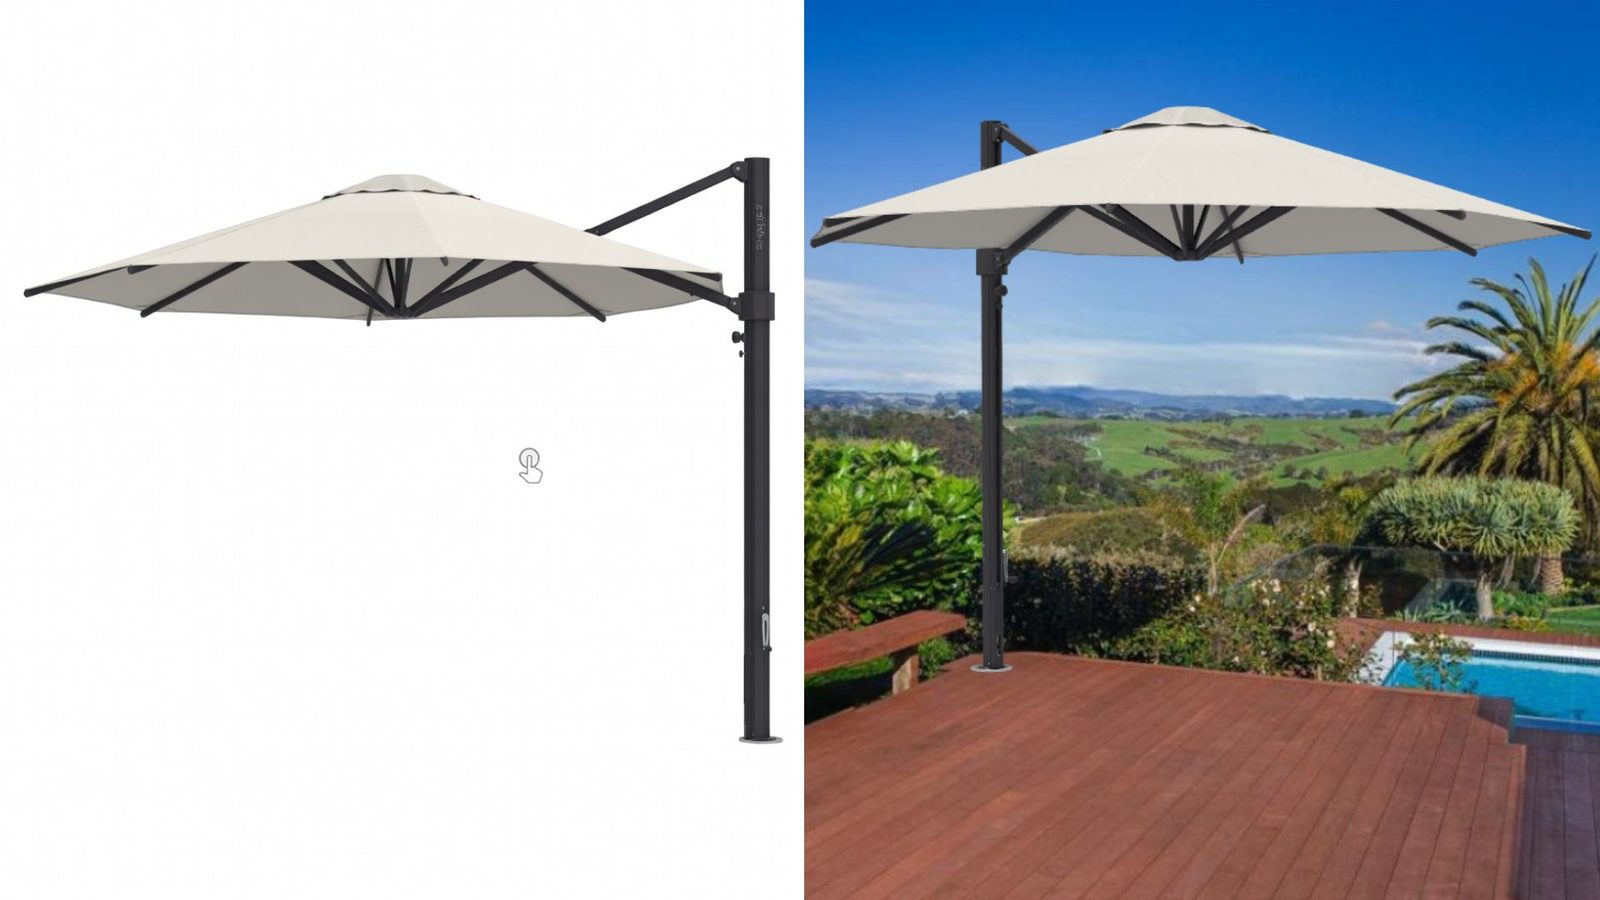
Investing in a beautiful, long-lasting cantilever umbrella (or market umbrella) can be a big decision. Visualising what it might look like in your space, or even where you should put it, can be difficult. If you are considering installing a cantilever or market umbrella in your outdoor space and wish there was a way to see what it could look like before making your final decision, you are in luck. Shade7 has created a virtual tool designed not only to help you see what all the shapes and colour options look like, but to test any combination (configuration) right in your own space.
If you have access to a PC, testing the right outdoor umbrella shape and colour for your space is so easy with Shade7’s online configurator tool. Here is a quick walk-through of how it works.

Click the configure button which is on the top right-hand corner of every Shade7 website page. This will open the page where you get to choose the kind of umbrella you are interested in – cantilever, or centre pole (outdoor) umbrella.
On this page there are nine models to choose from. For this article we will look at configuring a Riviera Premium Cantilever umbrella as it has the most options. Once you’ve chosen your umbrella model, you can choose your umbrella shape and size. In the Riviera Premium range there are four options: 3.5m, 4m and 4.5m octagonals, and a 3m square.
Once you’ve selected your shape and size, scroll down the page to colours.
You can click between silver and black for the mast colour, and click every canopy colour to find what you like. Shade7 has fabric swatches available on request if you would like to see a physical sample of your chosen canopy colour.
Next is the fun bit of the configurator. You can swivel and rotate the 3D umbrella model to view it from any angle, and upload a photo of your outdoor space to see how it looks. There is a little question mark in the top right-hand corner of the viewing screen; click this to get tips on moving the umbrella using right and left mouse buttons. You will need to adjust scale by eye. Riviera umbrella masts are 2.9m tall.
You will see some options at the bottom of your 3D configured umbrella, one of which is ‘in your space’. Click this option to upload a photo of your own outdoor area and see how it looks. Move it around using the right click on your mouse, tilt and rotate it using the left click. These tips are always available in the question mark in the top right corner of the configure screen.
At the top left of this ‘in your space’ screen you will see an ‘Image Options’ button that will allow you to change the photo you’ve uploaded, or to save the picture. This means you can try and share multiple ideas and colour schemes with others before finalising your choice.
After choosing your colour scheme, you will move on to choosing your installation method. You will probably already have an idea where your umbrella will go, and that will determine what fittings you need. However, if you have any uncertainty, the Shade7 team will be able to offer advice and recommendations.
Click your preferred installation method, then scroll down to accessories. Although a base plate is optional for many deck and concrete installations, it is recommended for timber decks and tiled patios, and is compulsory for composite decks and the 4.5m octagonal Riviera.
The final choice is a cover bag, which is a fantastic item to add to your order as using it will keep your new umbrella looking like new for years.
Each clicked choice completes just one umbrella. If you first click on a 3.5m, then a 4m on this page, or change from concrete bolts to a wheeled base, the items are changed before you reach your cart. You can see if the item you’ve chosen is available next to a running total at the bottom of the configurator page.
Every change you make will be instantly updated in the open cartas well as the running total, so you can see what each different combination will cost, before proceeding to checkout.
Once you have chosen everything needed for your order, including declining the cover bag by selecting ‘no cover bag’ if you don’t want one, you will be able to click ‘view summary’ to review your order, and proceed to checkout. At checkout you will enter your address to see the delivery cost.
If you want more than one of the umbrellas you have just configured, you will be able to use the + option in the cart to add more of your selected umbrella to your cart.
If you want to change what you’ve chosen, you can select ‘edit options’ or ‘remove’ from the cart page. If you want to add a different umbrella to the one in your cart, click the ‘add another umbrella’ button below your summary.
To add additional item such as an extra cover bag for example, close the cart page and select the accessories tab in the main menu to add additional items. Once you start adding accessories, the ‘continue shopping’ button is visible in your cart.
Shade7 umbrellas will serve you for many years, so being able to test colours and shapes in your actual space for extra assurance before you buy is invaluable. This fantastic configurator tool can also provide useful assistance visualising future projects, very helpful for landscaping decisions.
Ready to design your perfect outdoor umbrella? Try the Shade7 Configurator today, and if you’d like help choosing the right size, colour or installation method, our team is only a phone call or email away.


